
Host Strapi in Render and PostgreSQL in Supabase - All Free
In this article we will learn how to create a basic strapi project, create your postgreSQL database with supabase, connect it to your project, and upload the project to render.com, using the free version of both services.
Let's get started!
Creation of the strapi project
If you already have your project created you can skip this step.
To create it we simply need to run the command:
npx create-strapi-app@latest my-project-name --quickstart
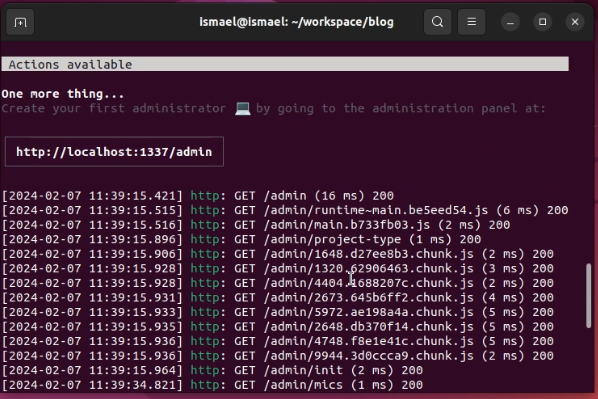
This command will create the project with the basic configuration, using SQLlite as DB, it may take a while to complete because it downloads all the dependencies and generates the entire database structure for strapi. This command will also start the project automatically:
Creation of a Free account and PostgreSQL database in Supabase
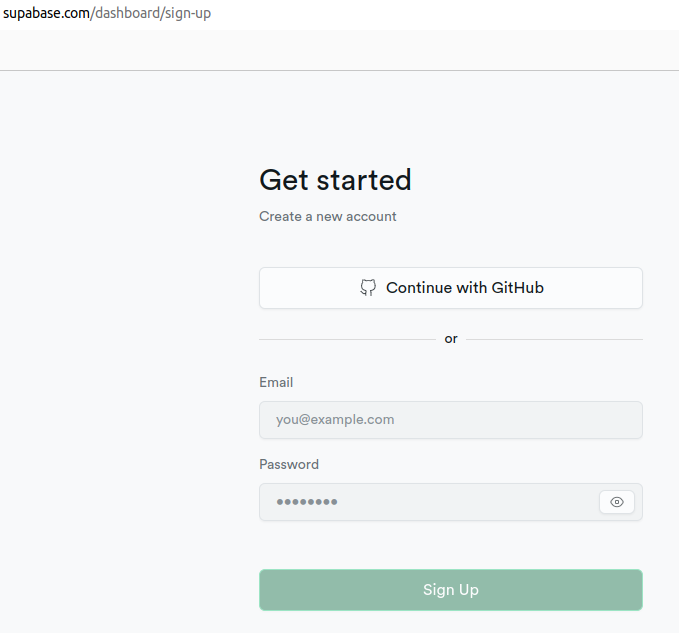
To register you simply go to supabase.com and click the signIn button, and then sign up now, you can register using github, email or SSO:
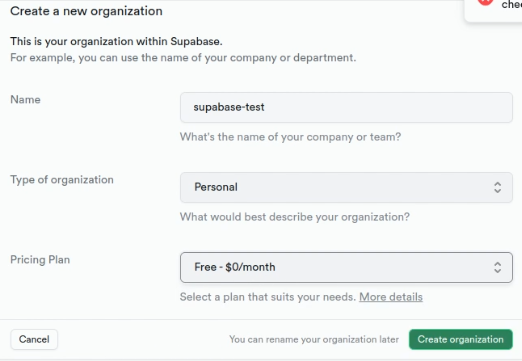
Once registered, you enter your account, and it will direct you to your dashboard, click on "new project", you may get an anti-robot test, complete it, and it will show you a form to create your organization, add the name and choose the plan gratuitous:
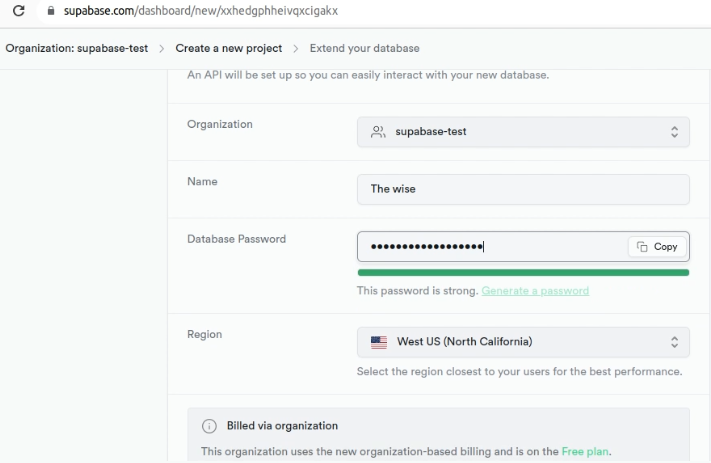
Then fill out the form with the data for your project:
Once you are in your project dashboard, go to “project settings -> database". There you can see all the variables required to connect to the supabase database:
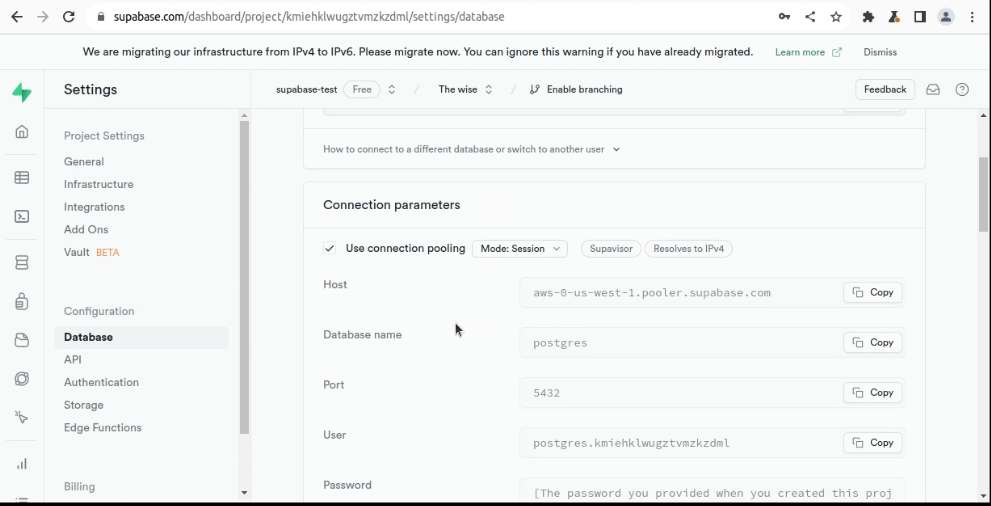
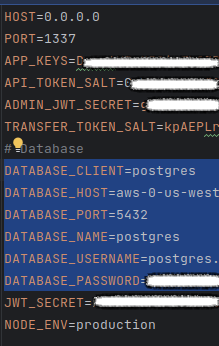
Now you need to copy them into the .env file, into the corresponding variables and remember to change the
DATABASE_CLIENT variable to “postgres”:
Now you need to add the “pg” dependency for postgreSQL, you can do it with the command:
yarn add pg
If you now start the project again, you will connect to the Supabase database. The first time it may take a long time because the entire strapi table structure is created.
Deployment of the project on Render
We will deploy using docker, therefore first we need to create our Dockerfile, so in the root of the project we create a file called Dockerfile with the following content:
    FROM public.ecr.aws/docker/library/node:18

    # Create app directory
    WORKDIR /app

    # Install app dependencies
    COPY package.json /app
    RUN yarn install --ignore-engines

    # Bundle app source
    COPY . /app
    RUN yarn build

    # Run the web service on container startup.
    CMD [ "yarn", "start" ]

    EXPOSE 80
That is an example of the basic content of a Dockerfile, which contains everything we need to deploy our strapi project.
Render requires a file with the name render.yaml with the configuration
and parameters for our project to be deployed. So we proceed to create it, you must be careful with the parameters
you enter in this file since some options are paid, below I leave you an example of a free configuration
that will help us in this case.
    services:
     # A Docker web service
     - type: web
       name: webdis
       runtime: docker
       repo: #https://github.com/render-examples/webdis.git # optional
       region: oregon # optional (defaults to oregon)
       plan: standard # optional (defaults to starter instance type)
       branch: master # optional (defaults to master)
       rootDir: webdis
       dockerCommand: #./webdis.sh # optional (defaults to Dockerfile command)
       numInstances: # optional (defaults to 1)
       healthCheckPath: /
       envVars:
         - key: NODE_VERSION
           value: ~18
         - key: NODE_ENV
           value: production
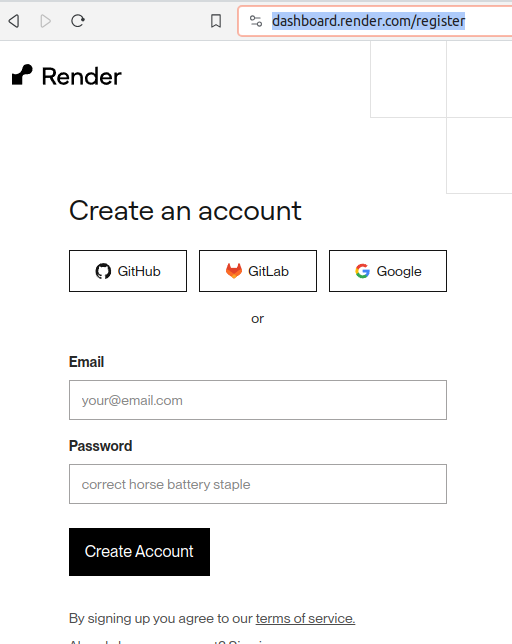
Now we proceed to create an account at https://render.com, we have 4 options to register, I recommend that you use the account in which you have your repository to facilitate the import of the project, in this case I use github.
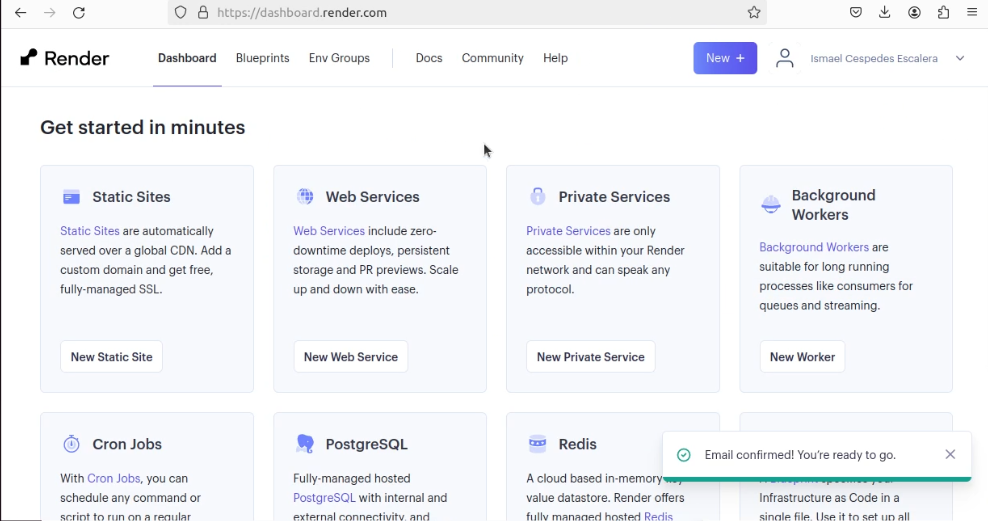
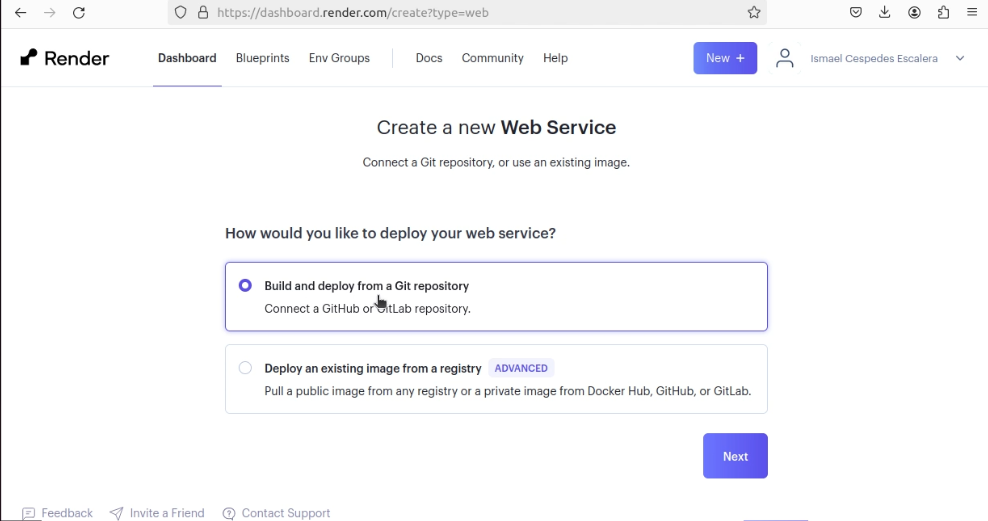
It may ask you to verify the email, then upon entering you will see the dashboard window where you must click on the “New Web Service” button:
Then you choose the option “Build and Deploy from a Git Repository”:
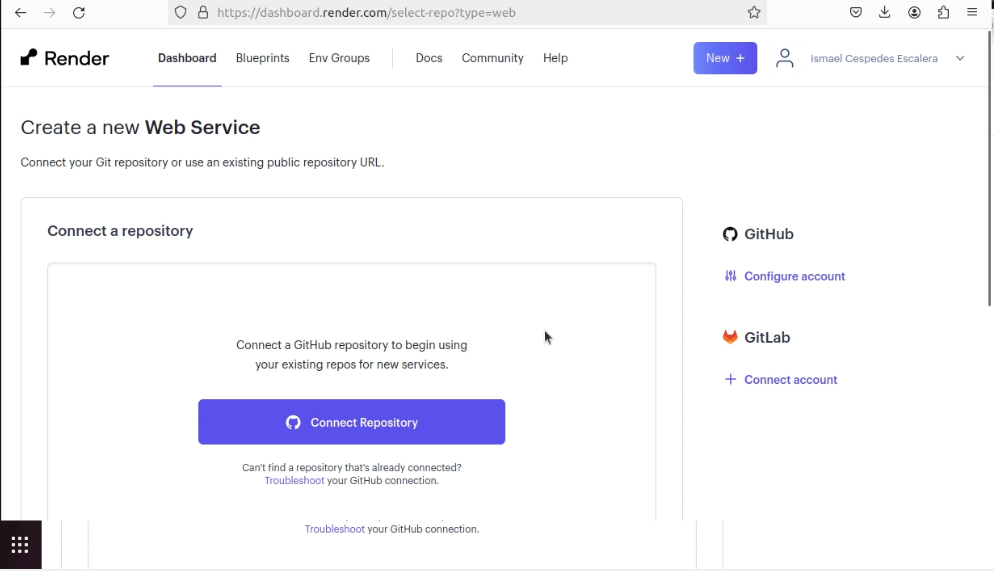
Then you must connect your repository:
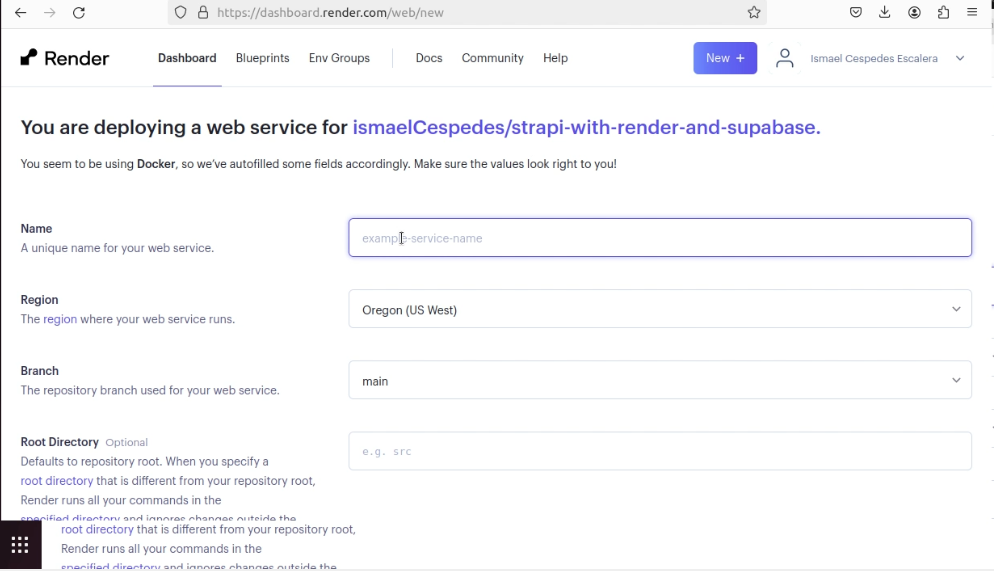
Once connected you must fill out the form with your project data. Keep in mind that the name you
give your project will also be the name of your sub-domain on render.com. You must also choose
the “Free” option for the free version, and add the environment variables
APP_KEYS, ADMIN_JWT_SECRET, API_TOKEN_SALT and TRANSFER_TOKEN_SALT and click on “Create web Service”:
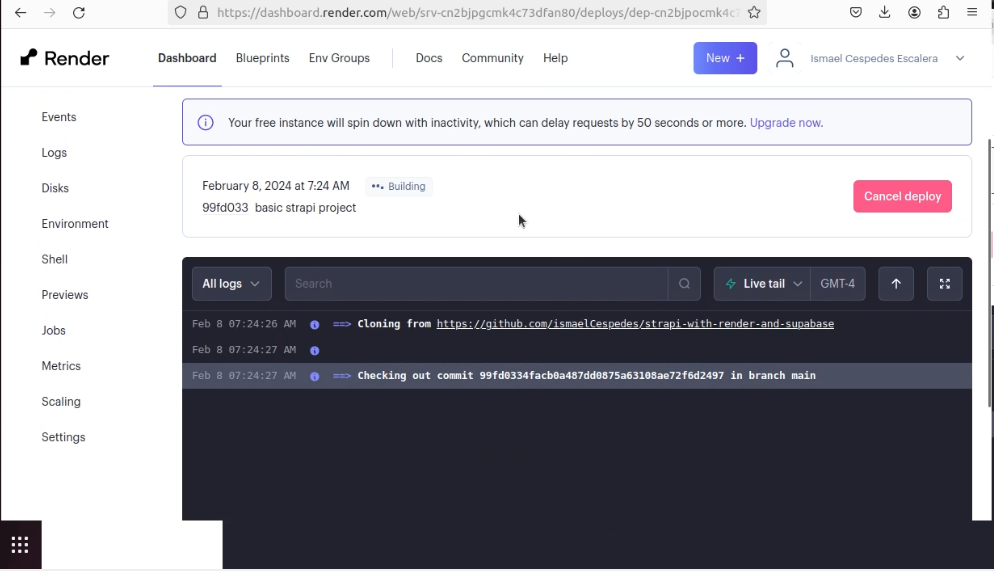
After this, the first build will begin and no errors should appear if you followed the steps correctly.
Disadvantages with render in the free option:
The server does not have much capacity, so it is only recommended for small projects, or in the testing stage.
When no requests are made to the server for many minutes it enters a “hibernation” state and when you want to use
it again it will take up to 1 minute to respond again.
Congratulations, you deployed your project in render using a completely free option
Thanks for reading this guide, see you in the next one!